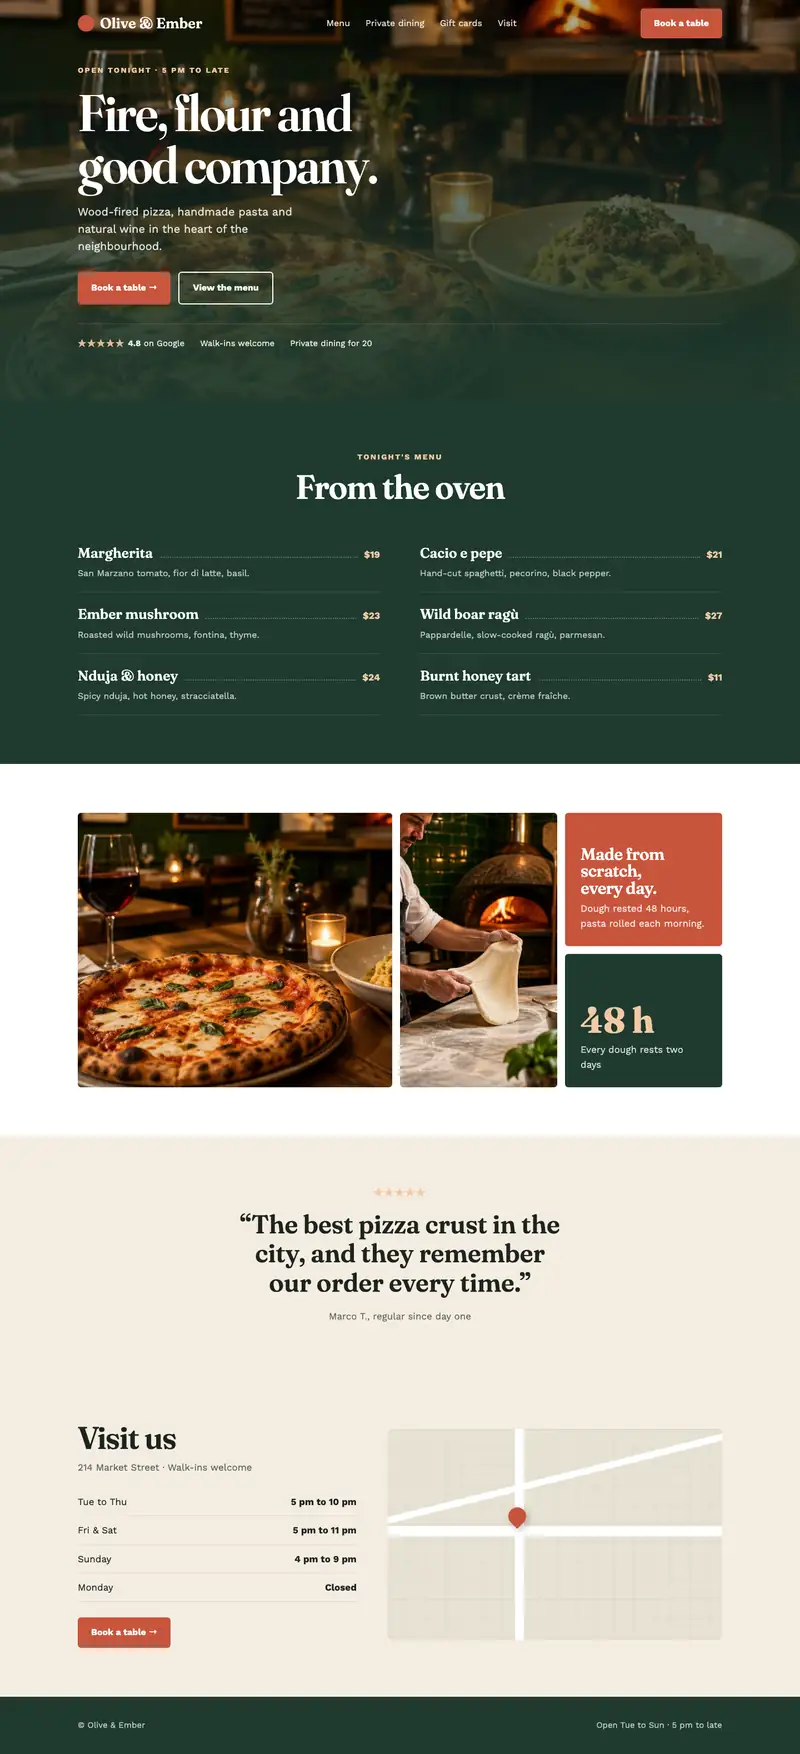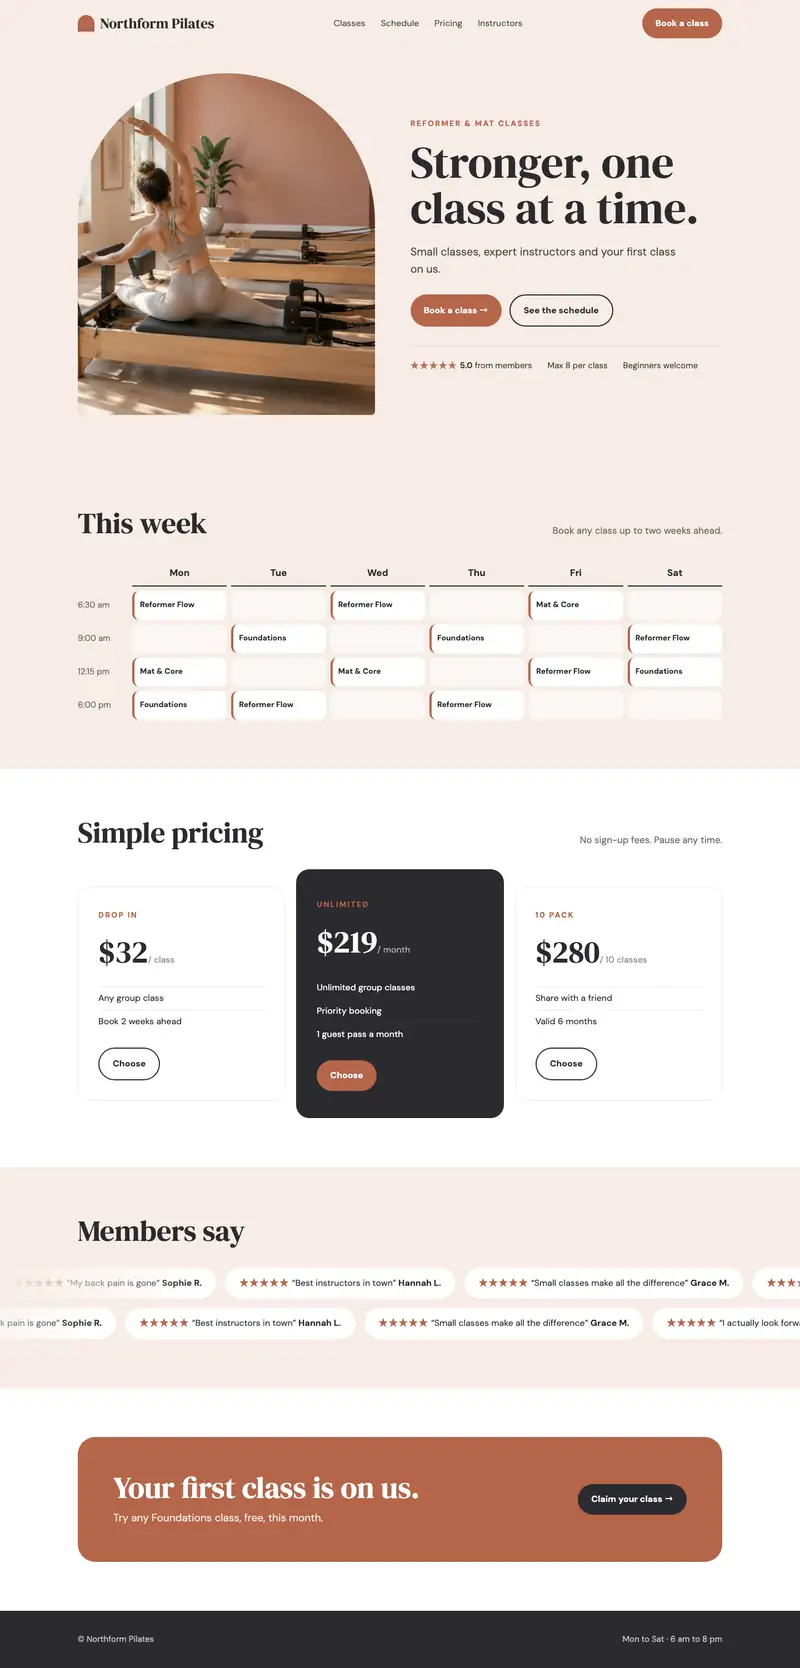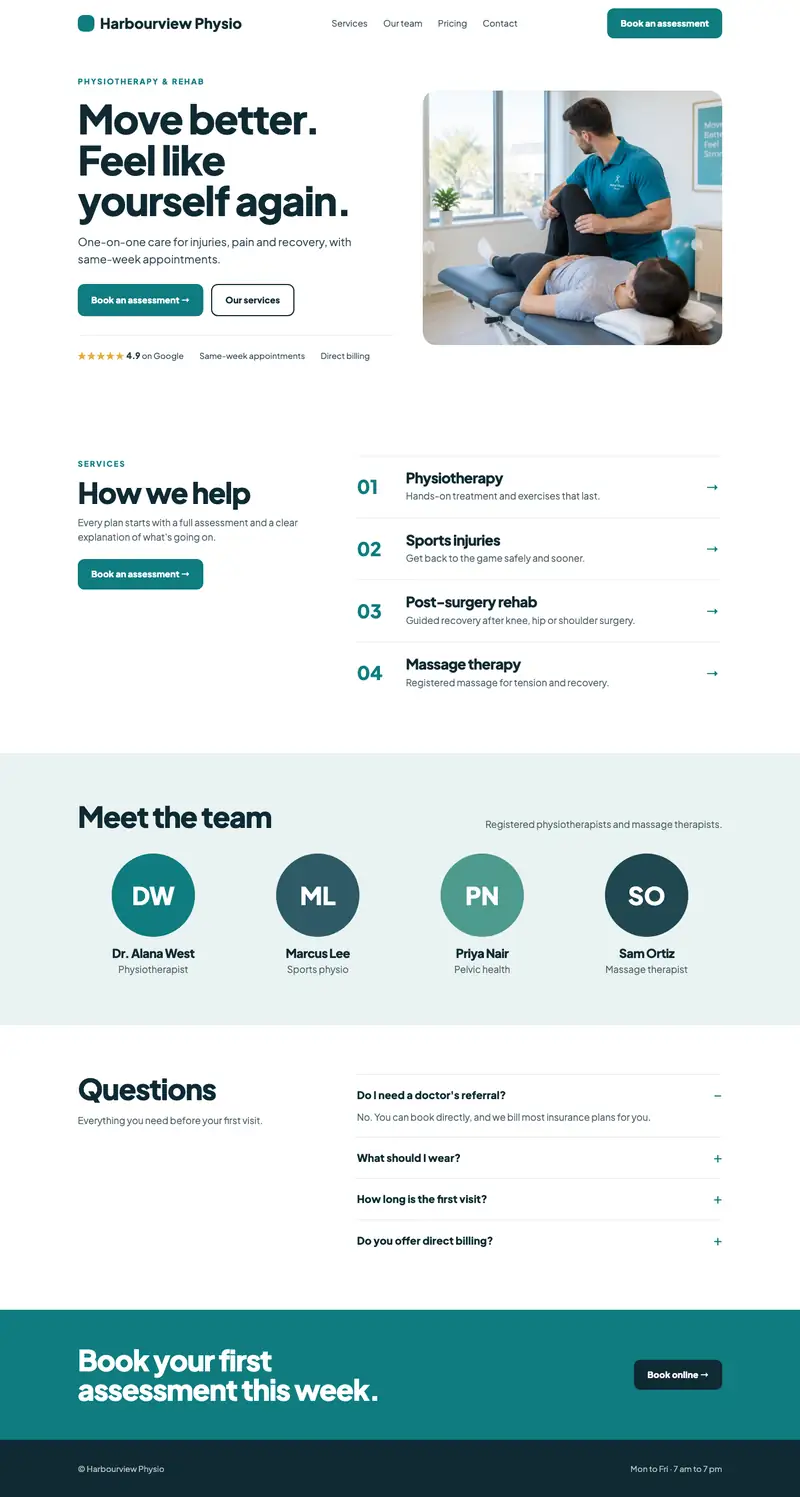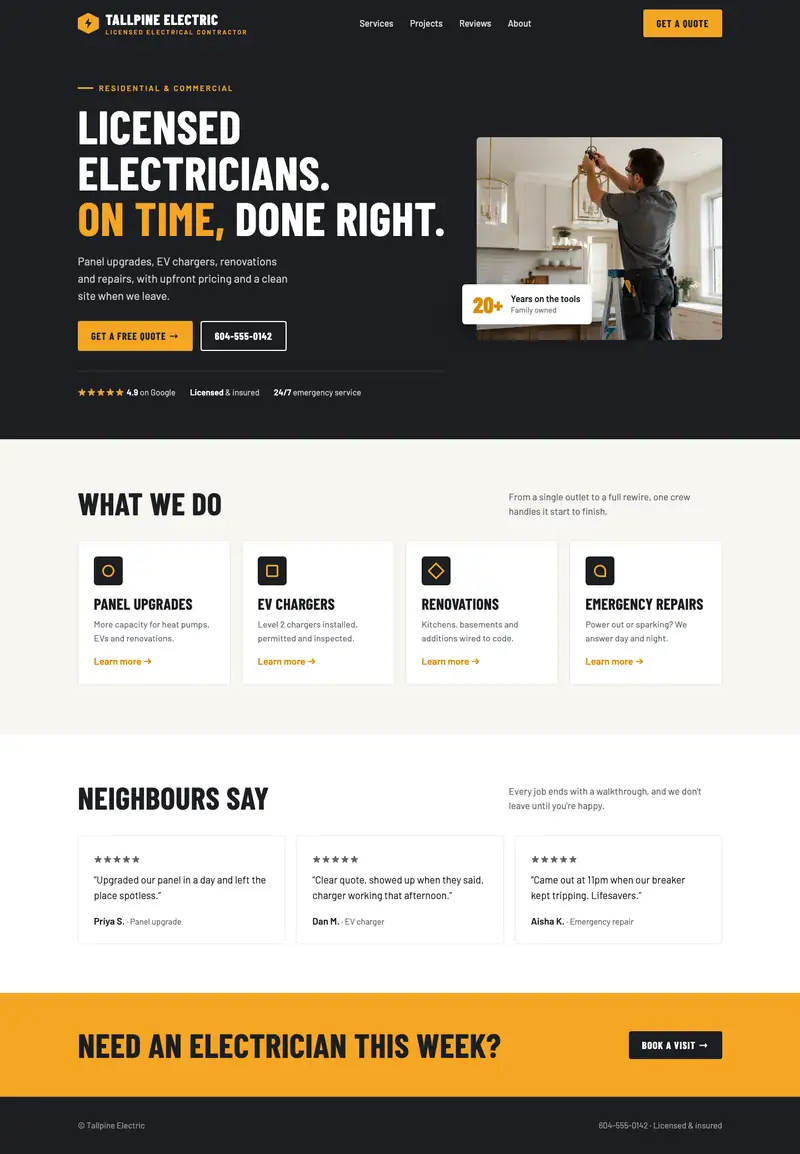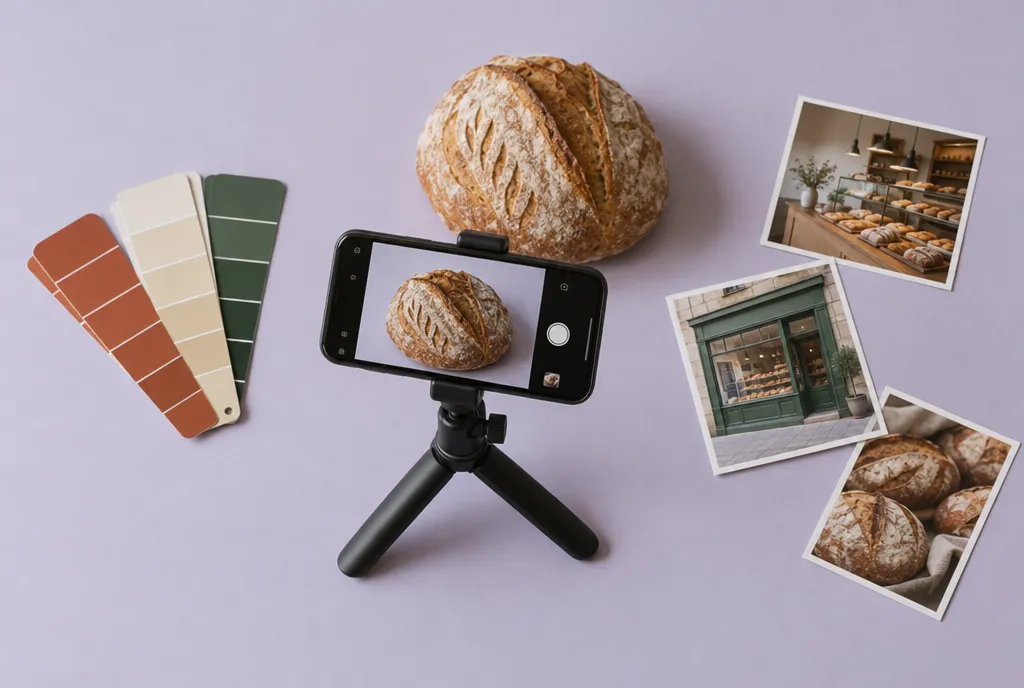
Your site should look like your business. Not like a template, and not like everyone else. This step sets up your look and gets you the photos you need.
Your colours
Keep it simple:
- One main colour. Often from your logo or sign.
- One accent colour. For buttons and highlights, so they stand out.
- Neutrals. White, light grey and a dark grey or near-black for text.
Use the same colours everywhere: your site, your social posts, your flyers. Consistency is what makes a brand feel established.
Your fonts
Two fonts is plenty:
- One for headings, which can have a bit of personality
- One for everything else, which should be easy to read
Most website builders pair fonts for you in their design settings. Pick a pairing and stick with it.
Your logo
If you have one, use it. If you don’t, a clean version of your business name in your heading font works well to start. You can have a logo designed later.
Great photos with your phone
Real photos beat stock photos. Customers want to see your actual work, space and people.
- Use daylight. Stand near a window or shoot outside. Turn off the flash.
- Clean the lens. Wipe it with a soft cloth. It makes a surprising difference.
- Tidy the background. Move clutter out of the shot.
- Hold it steady. Lean on something, or use both hands.
- Shoot a lot. Take ten, keep the best one.
- Shoot both ways. Some wide, for banners. Some upright, for phones.
Photos to take
- You and your team, smiling and at work
- Your space, inside and out
- Your work, products or results
- Details that show care and quality
If you need stock photos
Free stock photo sites exist if you’re missing something. Choose natural-looking photos over posed ones, and never use images you don’t have the right to use.
Make them load fast
Big photos slow your site down. Most builders shrink them for you. If yours doesn’t, resize photos to about 2000 pixels wide before uploading.
Your homework
- Choose your colours and fonts, and write them down
- Take or gather at least ten good photos
- Put them in your folder from step 1
In step 6, we’ll build your pages.
Unlock the rest of the course.
Enter your name and email and we'll send you all eight steps, free.